Right another post time lol
Meshtastic build here we go
parts list:
1) A raspberry pi (if you using the Linux native stuff otherwise any Lora enabled board https://meshtastic.org/docs/hardware/devices/ supported stuff listed here) I am using a pi 4 for my router build (also an sd card if you are using a pi and not a premade board)
2) A pi Lora hat if you are using a pi otherwise it’s already in the module if you bought one of the esp or similar boards (I made my own own from from this GitHub https://github.com/chrismyers2000/MeshAdv-Pi-Hat )
2) An antenna (i already had a decent Lora antenna but a decent one from AliExpress would work also (https://s.click.aliexpress.com/e/_DeauIDb ) I have these for my smaller esp based nodes but my main router is using this one which I already had from a previous lorawan project with the things network https://www.telemetrieshop.nl/products/1112/868+Omni+antenna
3) The correct cable to connect your board to your antenna
I needed an sma to sma connector (male to male) https://amzn.to/4eJhdqL
the premade boards usually come with a cable for the smaller antennas
4) You also need a pc or a laptop of some kind to install the Linux native software on the pi or to flash any of the other boards
The build:
first you need to get your pi sd card and flash it
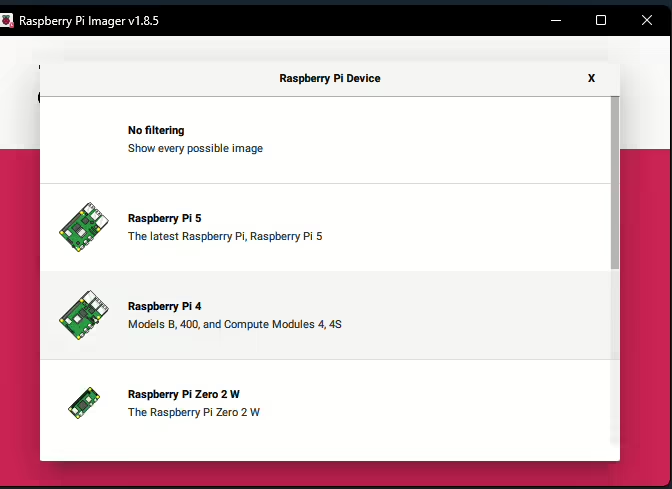
use the raspberry pi imager and select your pi model
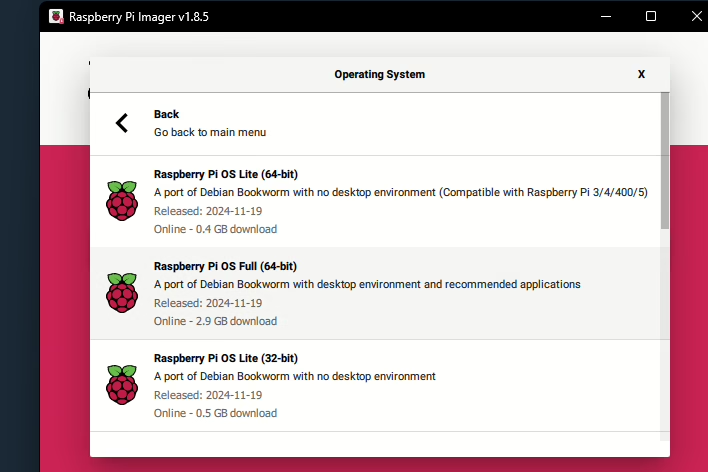
then choose the os
go to raspberry pi os other
I used the 64 bit version with no desktop environment
then just click choose storage and select the correct sd card
I like to also enable ssh when it gives the edit settings dialogue as you need it later

choose edit settings
then services
I just use a password rather than ssh generally 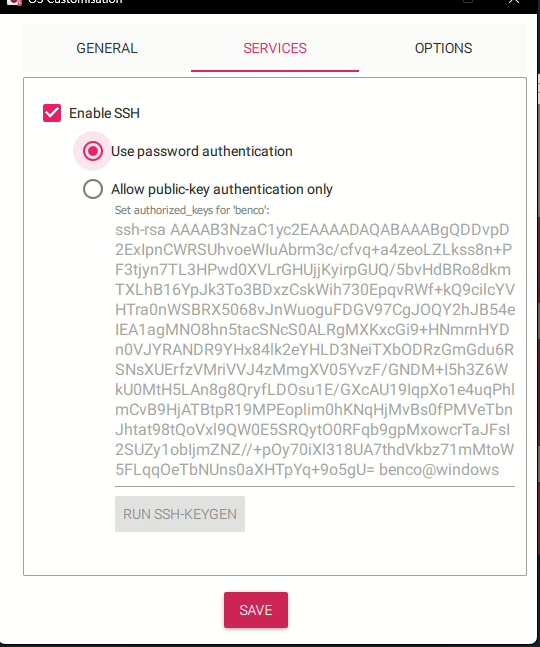
then also go to options and change the default password and username if you want
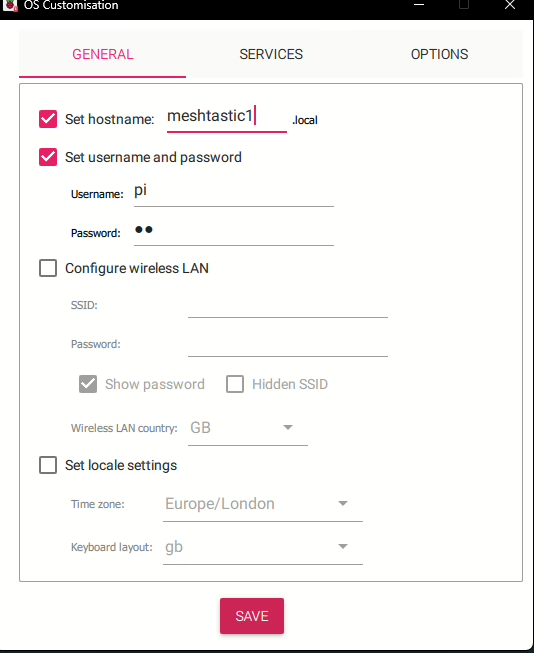
I just set it to pi and meshtastic1 for the guide but you can do anything you want here or just leave it at defaults
change the password though for security reasons to one you’ll remember
then just choose save

then all data will be wiped
choose yes (make sure you haven’t got anything important on the sd card though)
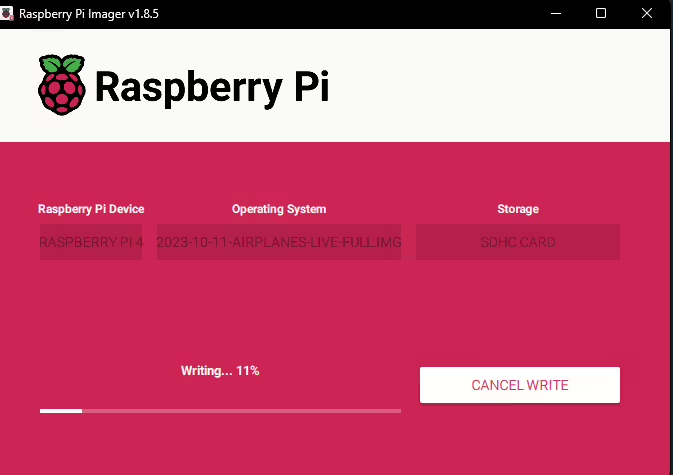
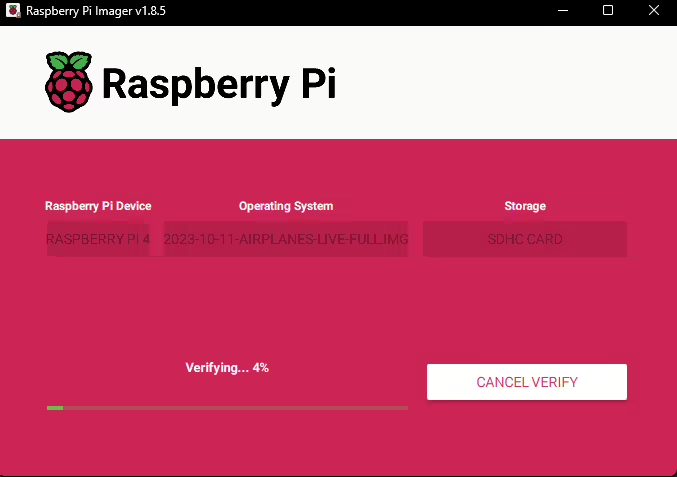
then you need to wait for it to finish and follow the instructions on the flasher (once it finishes it should eject automatically)
connect it to your pi along with your hat
I just used two bolts with some extra nuts as I forgot to order standoffs for it
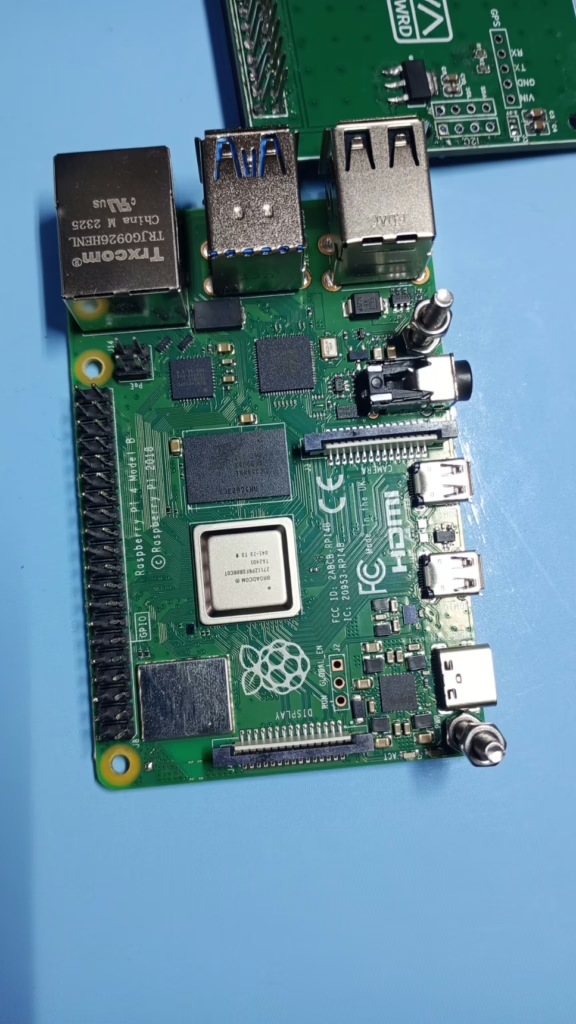
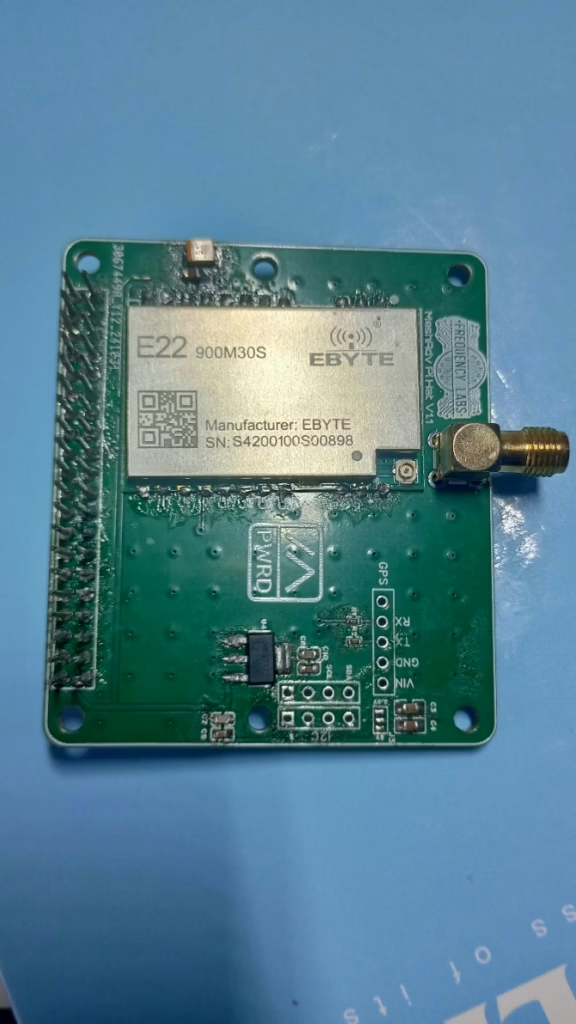
I’m adding a gps eventually once I get it also for the router as it’s going to be on a dedicated supply once installed so power draw isn’t a massive issue
Hat installed
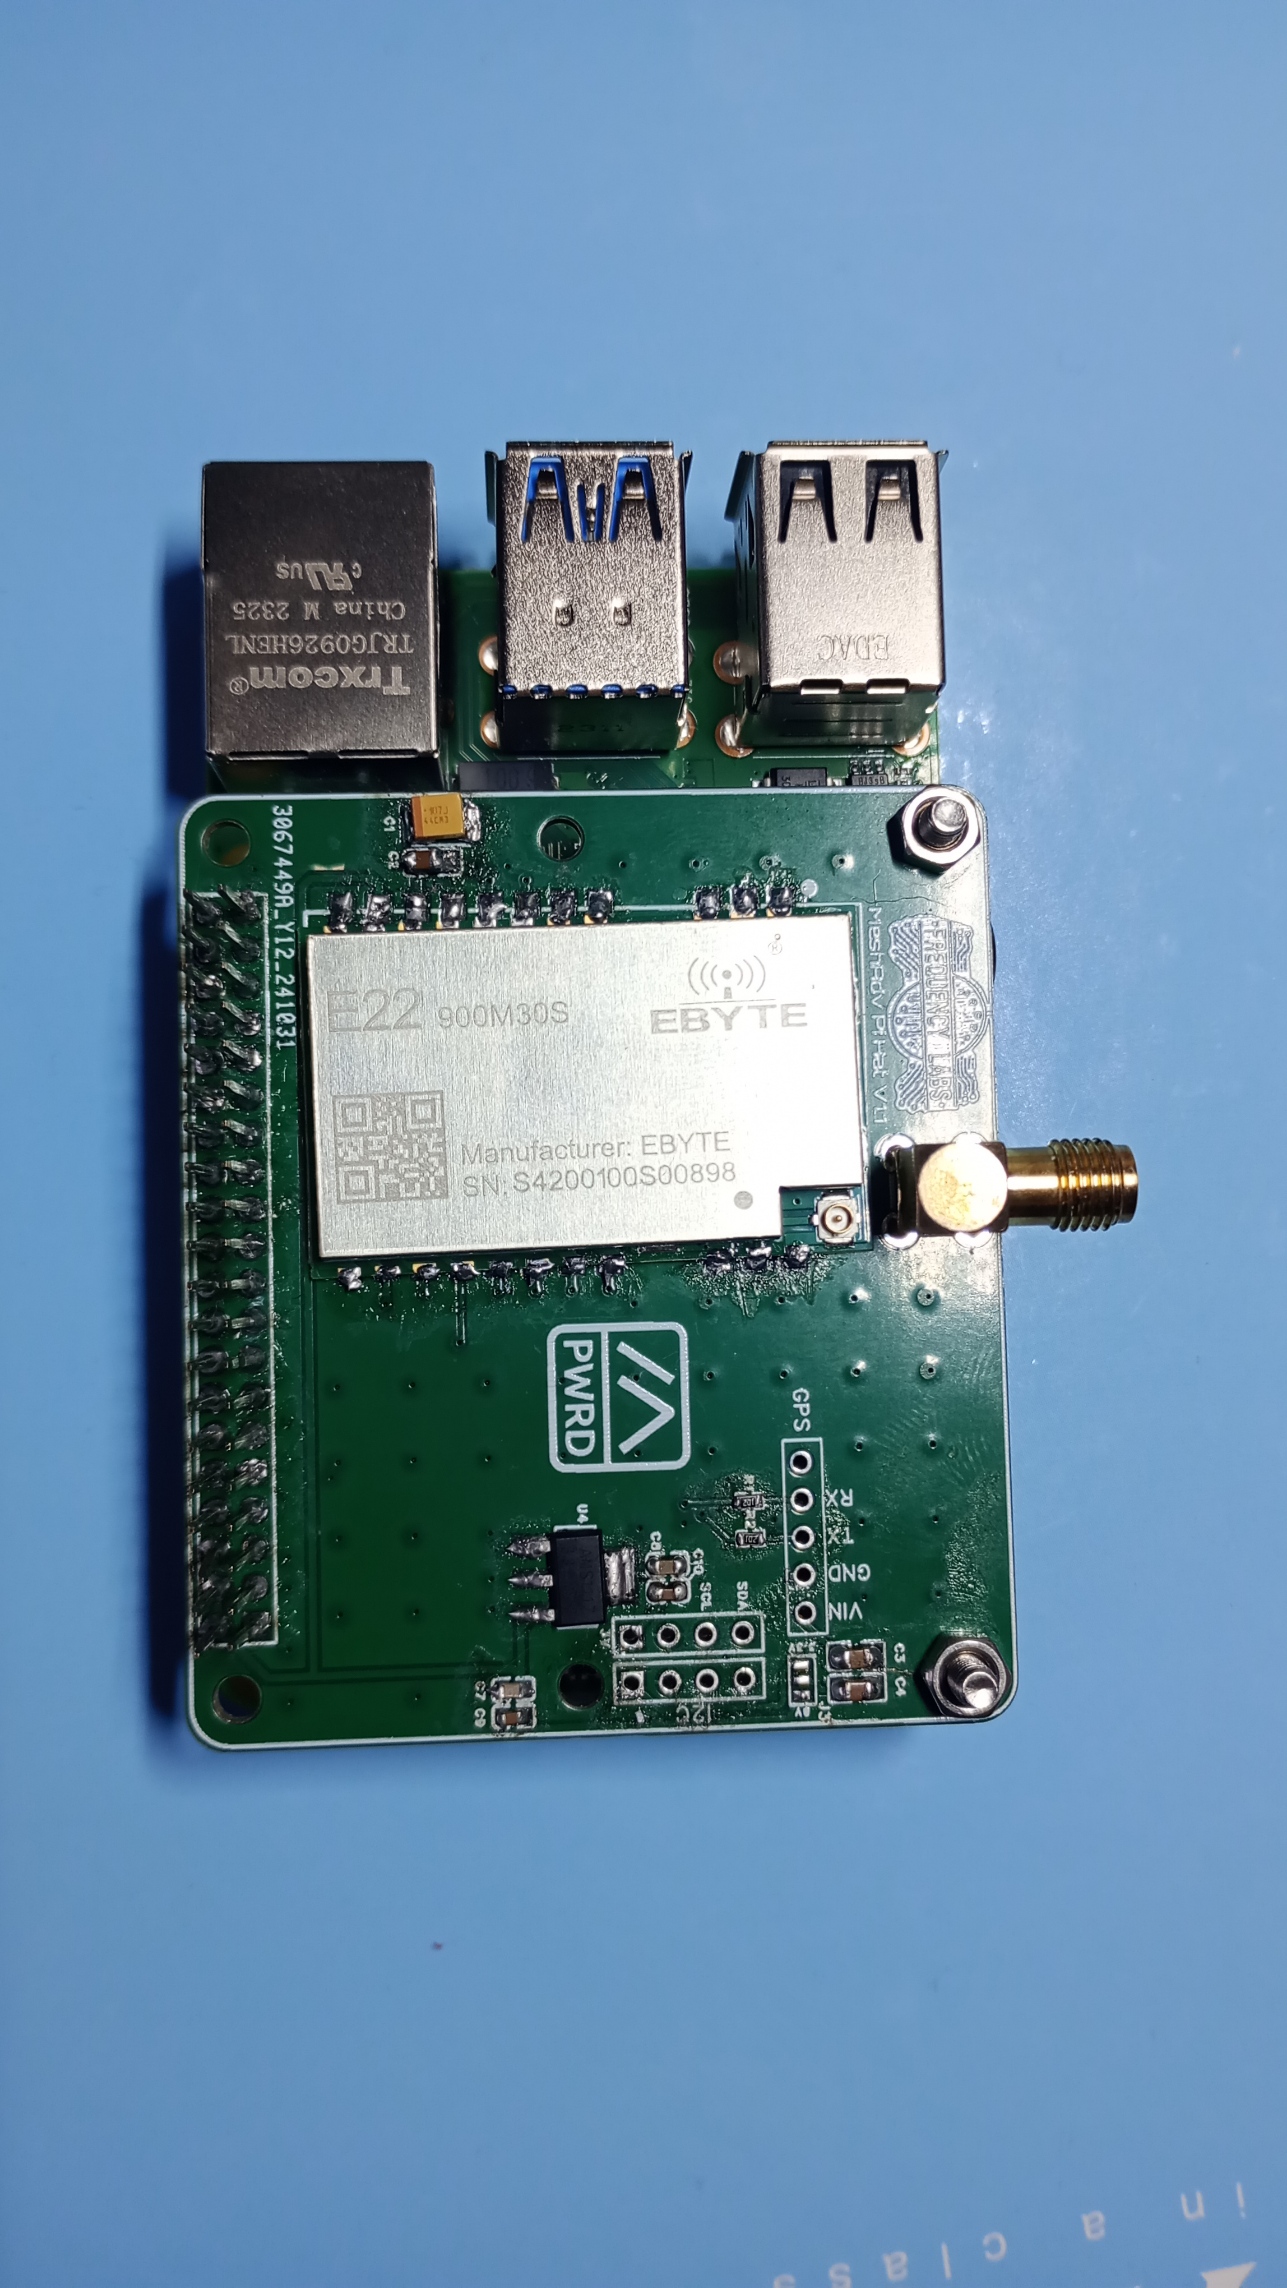
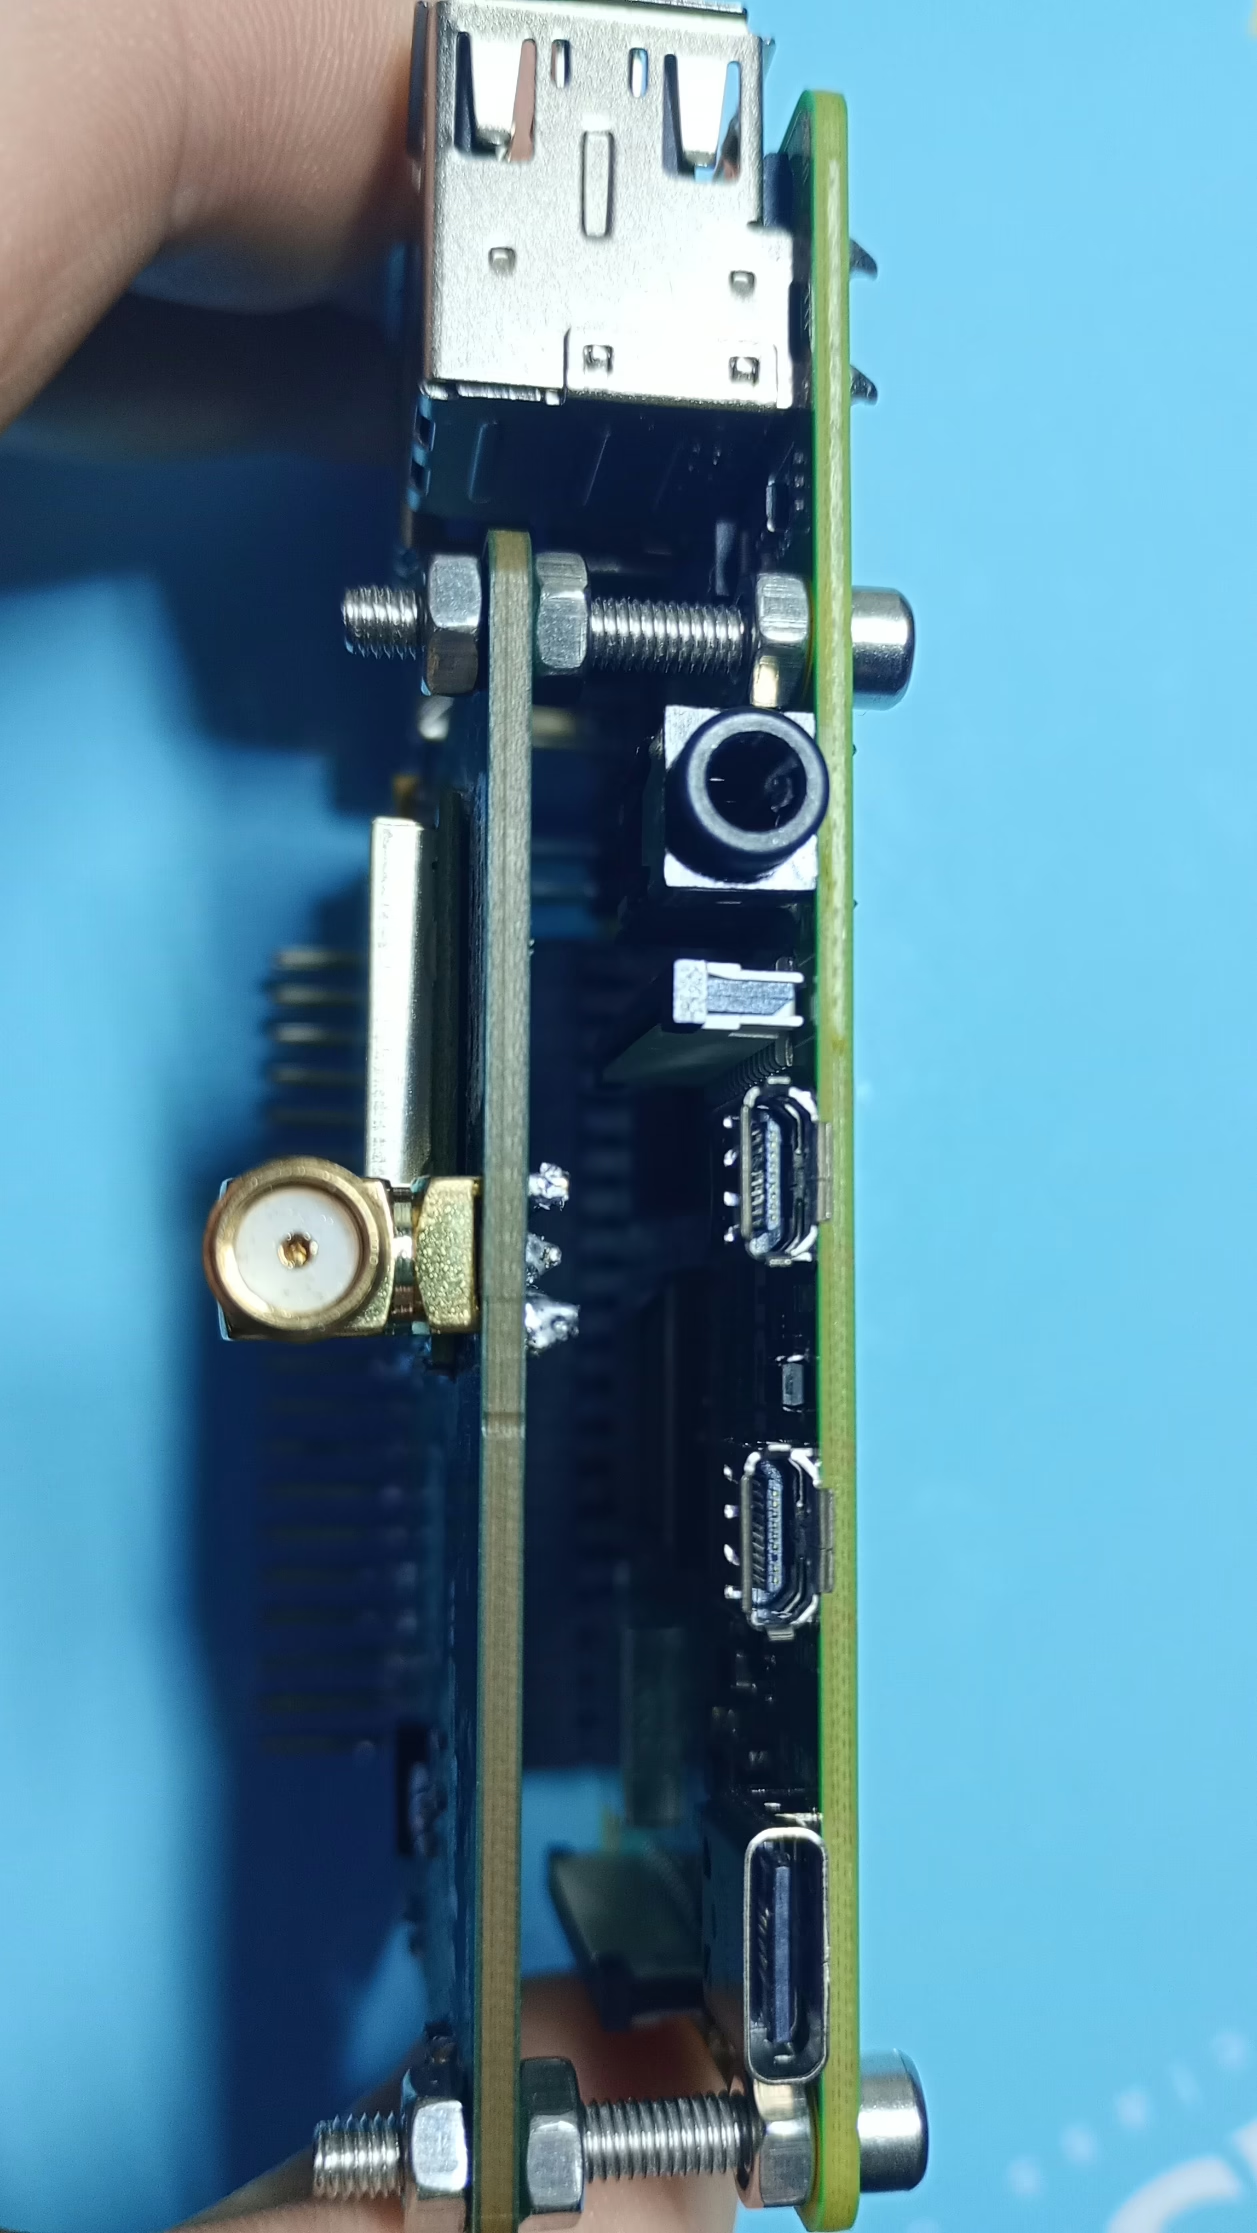
if you don’t have standoffs just uses bolts lol
Only thing though is use m2.5 bolts not m3 lol (you can use m3 bolts in it also but you have to widen the holes and it’s a pain)
Software:
put the sd card into your pi and start it up
make sure you have an antenna connected before you do though as otherwise you can ruin the lora module and break it
connect to power and network (I used a smaller antenna for testing as I don’t really feel like putting a giant one in my room for setting it up when it’s going in the loft anyway at some point
(sorry for the terrible image, not sure why it kept taking like that as the others are perfect)
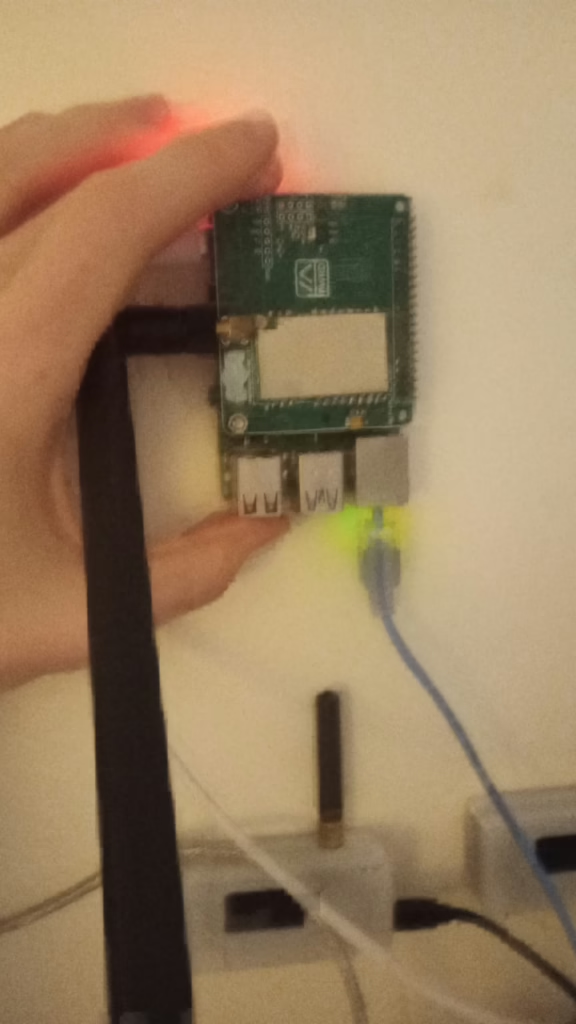
My final installed version will have a much larger antenna on it
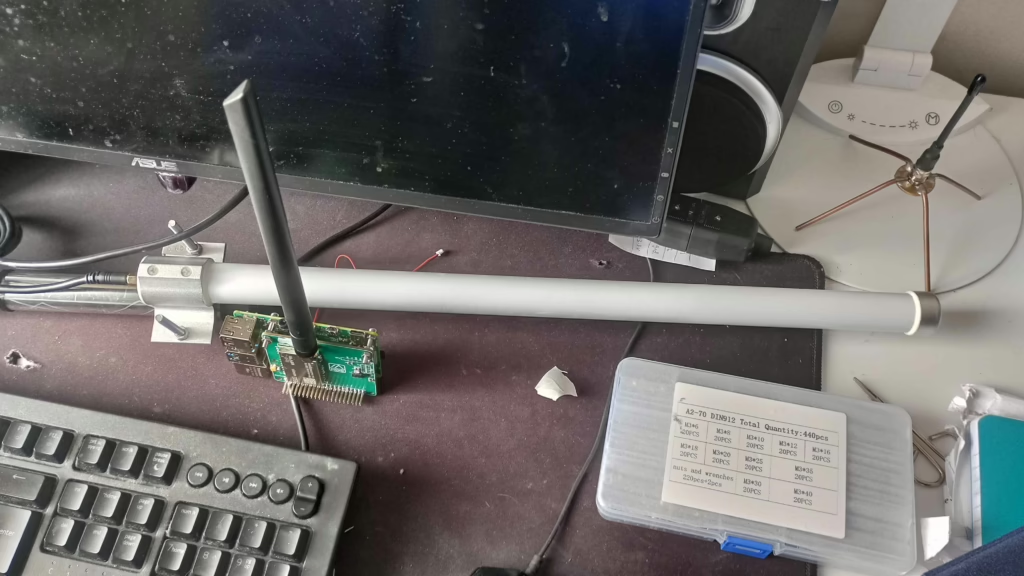
(yes it’s a bit of a mess, I was mid build lol)
Next open putty (or whichever ssh client you prefer and connect to your pi over ssh
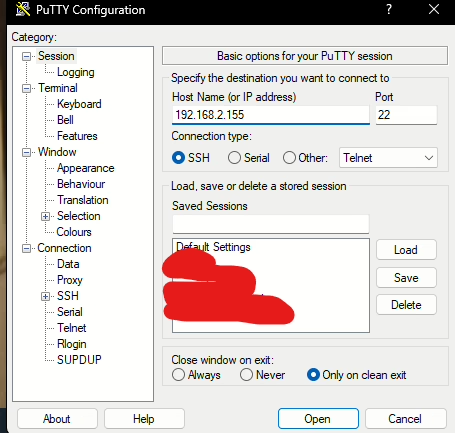
then just login (ssh uses a different extra part you do before opening the connection that I won’t go into here)
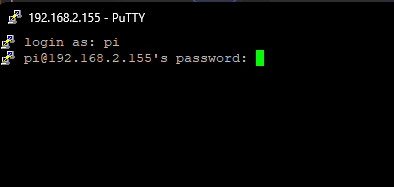
type in your username and then password
then you need to run this to install the needed libraries (from https://meshtastic.org/docs/hardware/devices/linux-native-hardware )
sudo apt install libgpiod-dev libyaml-cpp-dev libbluetooth-dev
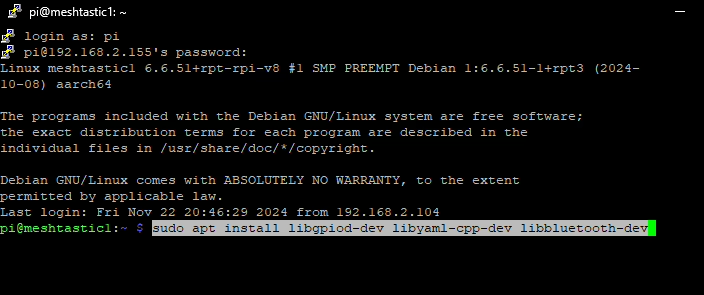
If you already didn’t already have it installed (i already do) You’d see a few lines of messages and then it would tell you it will use a certain amount of space, Type y then press enter
to get the webserver (defn handy and worth installing) you’ll need to run
sudo apt install openssl libssl-dev libulfius-dev liborcania-dev
then you need to install meshtastic
I had a weird issue with the install command on the site as it doesn;t like the {version} part so had to manually specify it from their github
wget https://github.com/meshtastic/firmware/releases/download/v{version}/meshtasticd_{version}arm64.deb sudo apt install ./meshtasticd{version}arm64.deb
for me (as of 23-11-2024) It needed to be
wget https://github.com/meshtastic/firmware/releases/download/v2.5.11.8e2a3e5/meshtasticd_2.5.11.8e2a3e5_arm64.deb

You’ll see something like this ^
then
sudo apt install ./meshtasticd_2.5.11.8e2a3e5_arm64.deb
(this is the same as the stuff just above with sudo apt where you need to press y and hit enter when it says
once that is installed you need to go to your config file for the pins which is at
/etc/meshtasticd/config.yaml
run
sudo nano /etc/meshtasticd/config.yaml
then paste in your pins map or uncomment one of the ones that I already exist if it’s listed
I just pasted it where it asks for it near the top of the file
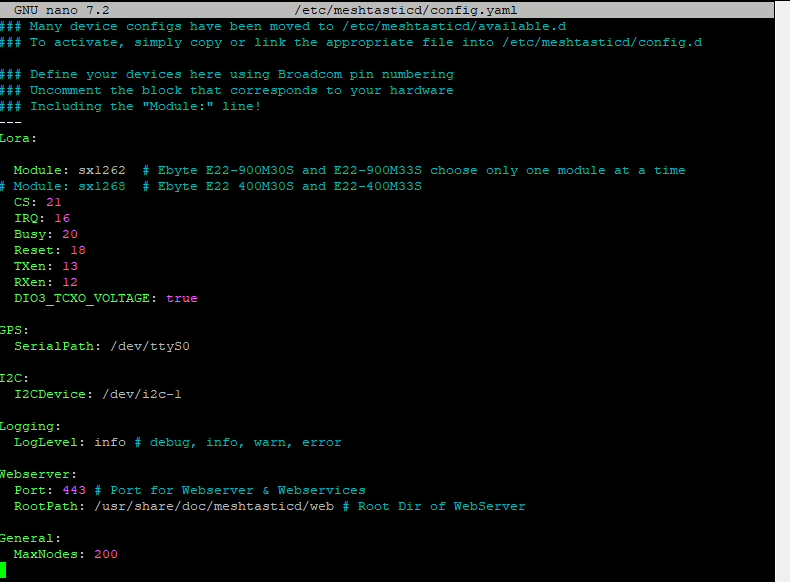
I didn’t change anything else
note: no Bluetooth support on Linux native devices so use the web ui or connect with the ip address which should be shown in your router or the second line if you run ifconfig where it says inet
Autorestart:
at the moment if you where to restart the pi meshtastic won’t restart which isn’t ideal
to fix that run
sudo nano /etc/systemd/system/meshtasticd.service
it should open a blank file
into it you need to paste
[Unit]
Description=Meshtastic Daemon
After=network.target
[Service]
ExecStart=/usr/sbin/meshtasticd
Restart=always
User=root
Group=root
Type=simple
[Install]
WantedBy=multi-user.target
then just do ctrl x and type y then enter

run
sudo systemctl daemon-reload
then enable it
sudo systemctl enable meshtasticd
start it
sudo systemctl start meshtasticd
to stop it run
sudo systemctl start meshtasticd
and to see the current status run
sudo systemctl status meshtasticd

You’ll see something like this ^
then open the ip address of your pi
You should see something like this when you press new device

IP address will be different to what I have but the ui should be the same
Hit connect and you’ll have the node setup
now if you send a message (I used the primary channel) You should see it show up
there is also a tick that shows another node received it
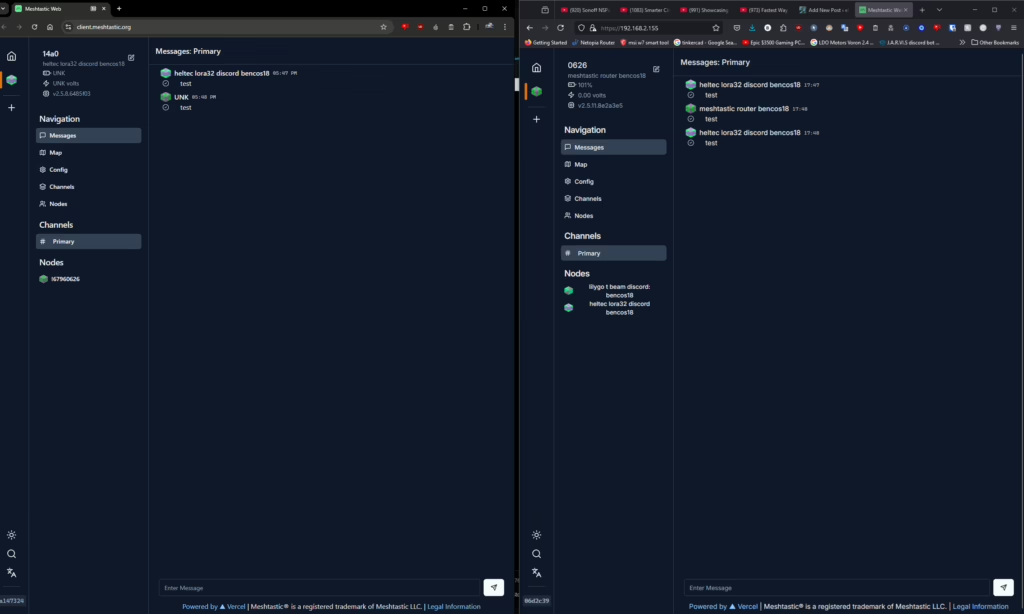
and now you have a working node
what mode you chose to use depends on a good few factors that are better served by the meshtastic docs
https://meshtastic.org/docs/configuration/tips/
https://meshtastic.org/docs/configuration/radio/device/#roles
Referenced sites/software:
- putty: (https://www.chiark.greenend.org.uk/~sgtatham/putty/latest.html)
- raspberry pi imager: https://www.raspberrypi.com/software/
- meshtastic: https://meshtastic.org/docs/getting-started/
- meshtastic hat I used: https://github.com/chrismyers2000/MeshAdv-Pi-Hat
- (he also sells them in the US https://www.etsy.com/shop/frequencylabs )
Leave a Reply